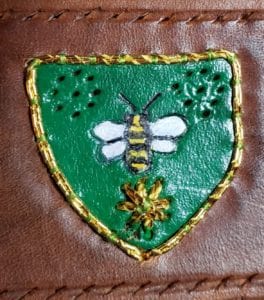
In my previous post, I talked about how I started creating my leather laurel circlet. Now that the leather was stamped, punched and dyed, it was time to start the decoration. The first step I did was to paint the bee in my device with black and yellow acrylic for the body, and white acrylic for the wings. I then outlined the bee with a black Sharpie to help the design pop. This splash of color shows up nicely against the green background.
I then started the goldwork. First, I outlined the shield in the center of the design in gold thread, and worked the three flowers on my device. I used British glossy Japan gold from Berlin Embroidery, the shiniest and best-quality Japan gold I’m familiar with. I then traced the main stem on either side in gold thread. For all goldwork, the thread was doubled over and plunged at either end, with over-side couching stitches through the leather using the holes I punched in my last post. The couching was done in green silk, knotted on the rear side of the leather to help limit the damage should any of the couching stitches pop at some point in the future.
Once the stems were done, I started working on the leaf clusters. This was a pretty long process, as each leaf-pair took about an hour to decorate. I started at the inner end of one of the leaf veins, then to the base of that leaf, around its outer edge, and then to the main stem, and back up to the accompanying leaf, which I completed in the opposite order. The threads were plunged at the start and end, inside the leaf, and tied off behind the leather. Once pulled through and tied off, the gold threads were clipped off and I went on to the next leaf pair. In all, this process took a little over 2 weeks to complete, including a few bouts of binge watching Netflix.

The process of plunging the threads through the leather was a bit difficult at first. After some experimentation with different sized needles, I discovered that a flexible-eyed beading needle worked well for this purpose. The flexible eye was wide enough to allow the gold thread to pass through easily, and the texture of the needle helped with the process of pulling the thread through to the rear.
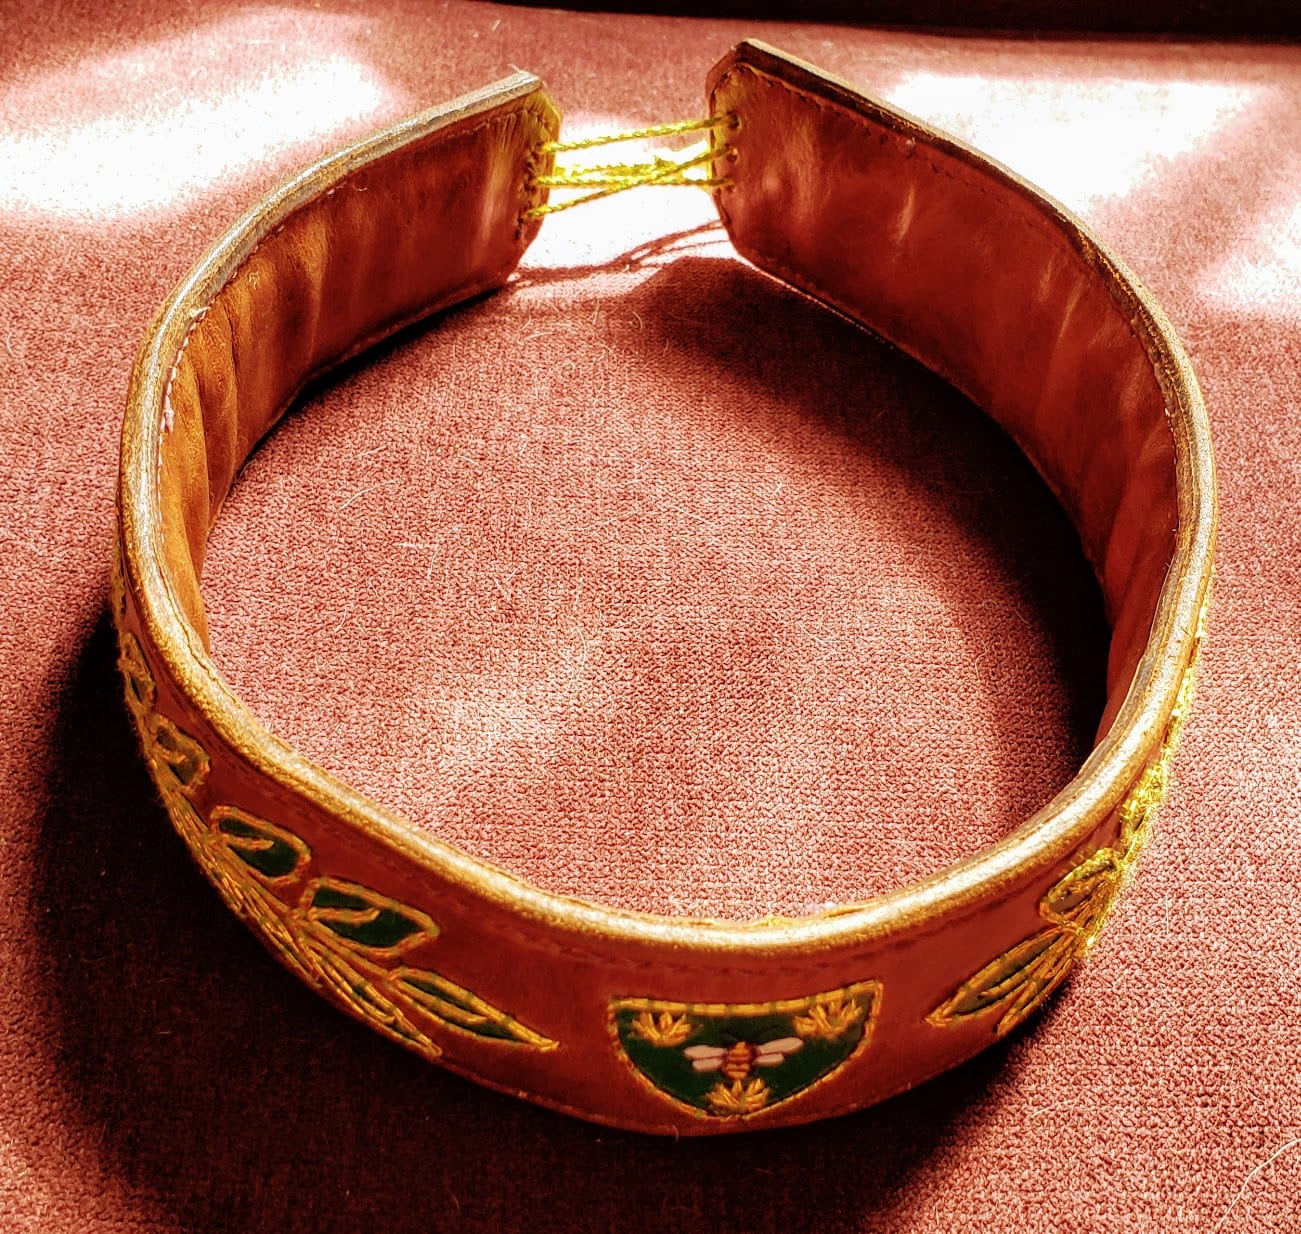
Given the couching and gold threads tied off on the rear of the leather, I knew that too much wear and exposure would be certain to wear down the knots and damage the goldwork from behind. So, I planned a liner of thin pigskin leather, also dyed brown, to cover up the inside of the circlet. As I started sewing on the liner, however, I realized that the tied off gold, in particular, was quite easy to feel through the liner, and would possibly make the circlet uncomfortable to wear in some spots. I fixed this by adding a thin strip of wool felt I had left over from another project. The felt just runs down the length of the circlet to pad the liner a bit, and then the liner and front leather pieces are sewn together using hemp thread and the stitching holes I punched in my previous post.

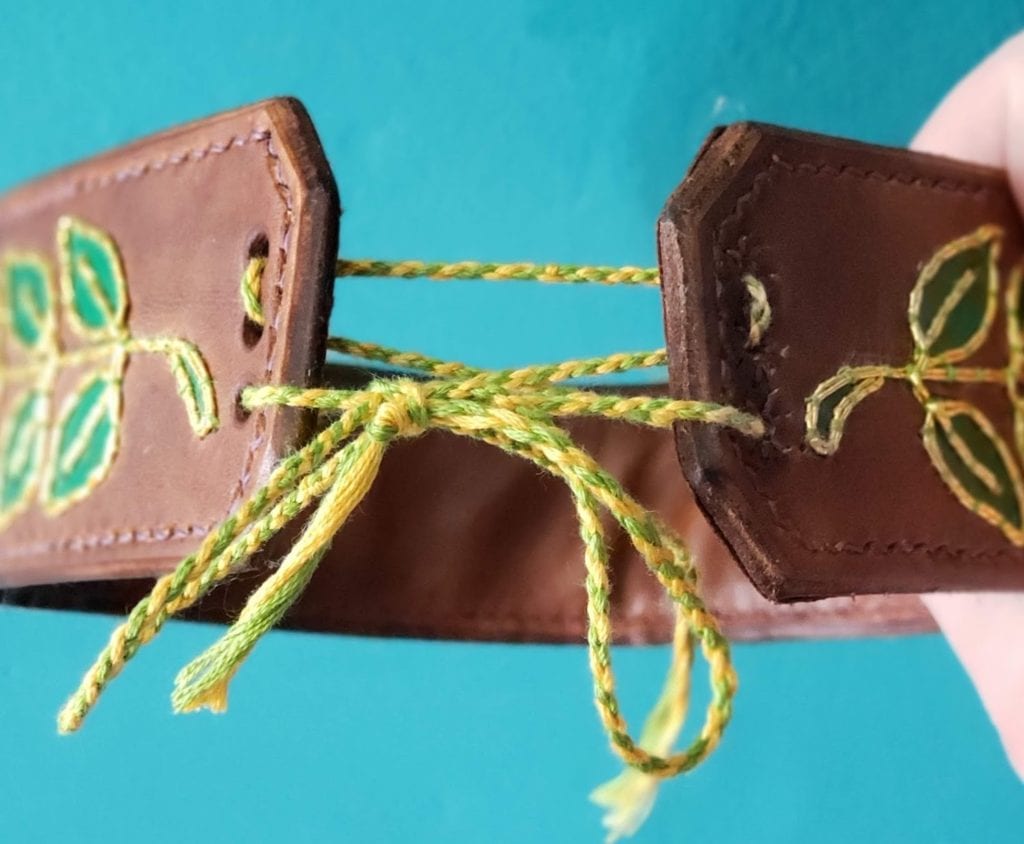
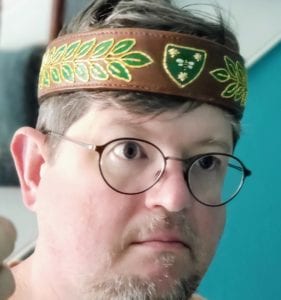
Sewing the pieces together was annoying because my needles kept snapping at the eye, and I went through quite a few, but eventually the stitching was complete. I punched holes on either end to use for lacing, redyed the edges, and used a wooden slicker tool to smooth out the edges of the piece. As a final step, I added a lace I whipcorded together in green and yellow, and the work was done!

Very nicely done! And it suits you well.
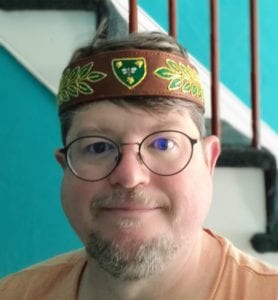
Thank you! It made its debut at GNEW this weekend, and got a lot of compliments as it glinted in the sun.
Hello , I found and have been enjoying reading all your posts this afternoon . Very interesting and this Circlet you have made is wonderful !