I’m starting a new piece, this time a rendition of my wife’s heraldry. Here is Cwen’s registered device:
 |
| Per fess sable and argent, two decrescents and a bear stantant gaurdant within a bordure all counterchanged |
I offered to make this in metal thread similar to the rendition I had recently done of my own device. Since her device is in sable and argent, I had the idea of doing “or nue” (shaded gold) using silver metallic thread rather than gold.
The first step, of course was to draw out the design. I’m never terribly happy with my drawing skills, but I eventually came up with the following. I was pretty happy with this design, and Cwen liked it as well.

The bear sticking out its tongue was particularly amusing, a detail I copied from a number of heraldic devices I found online, such as this one from the city of Bern:
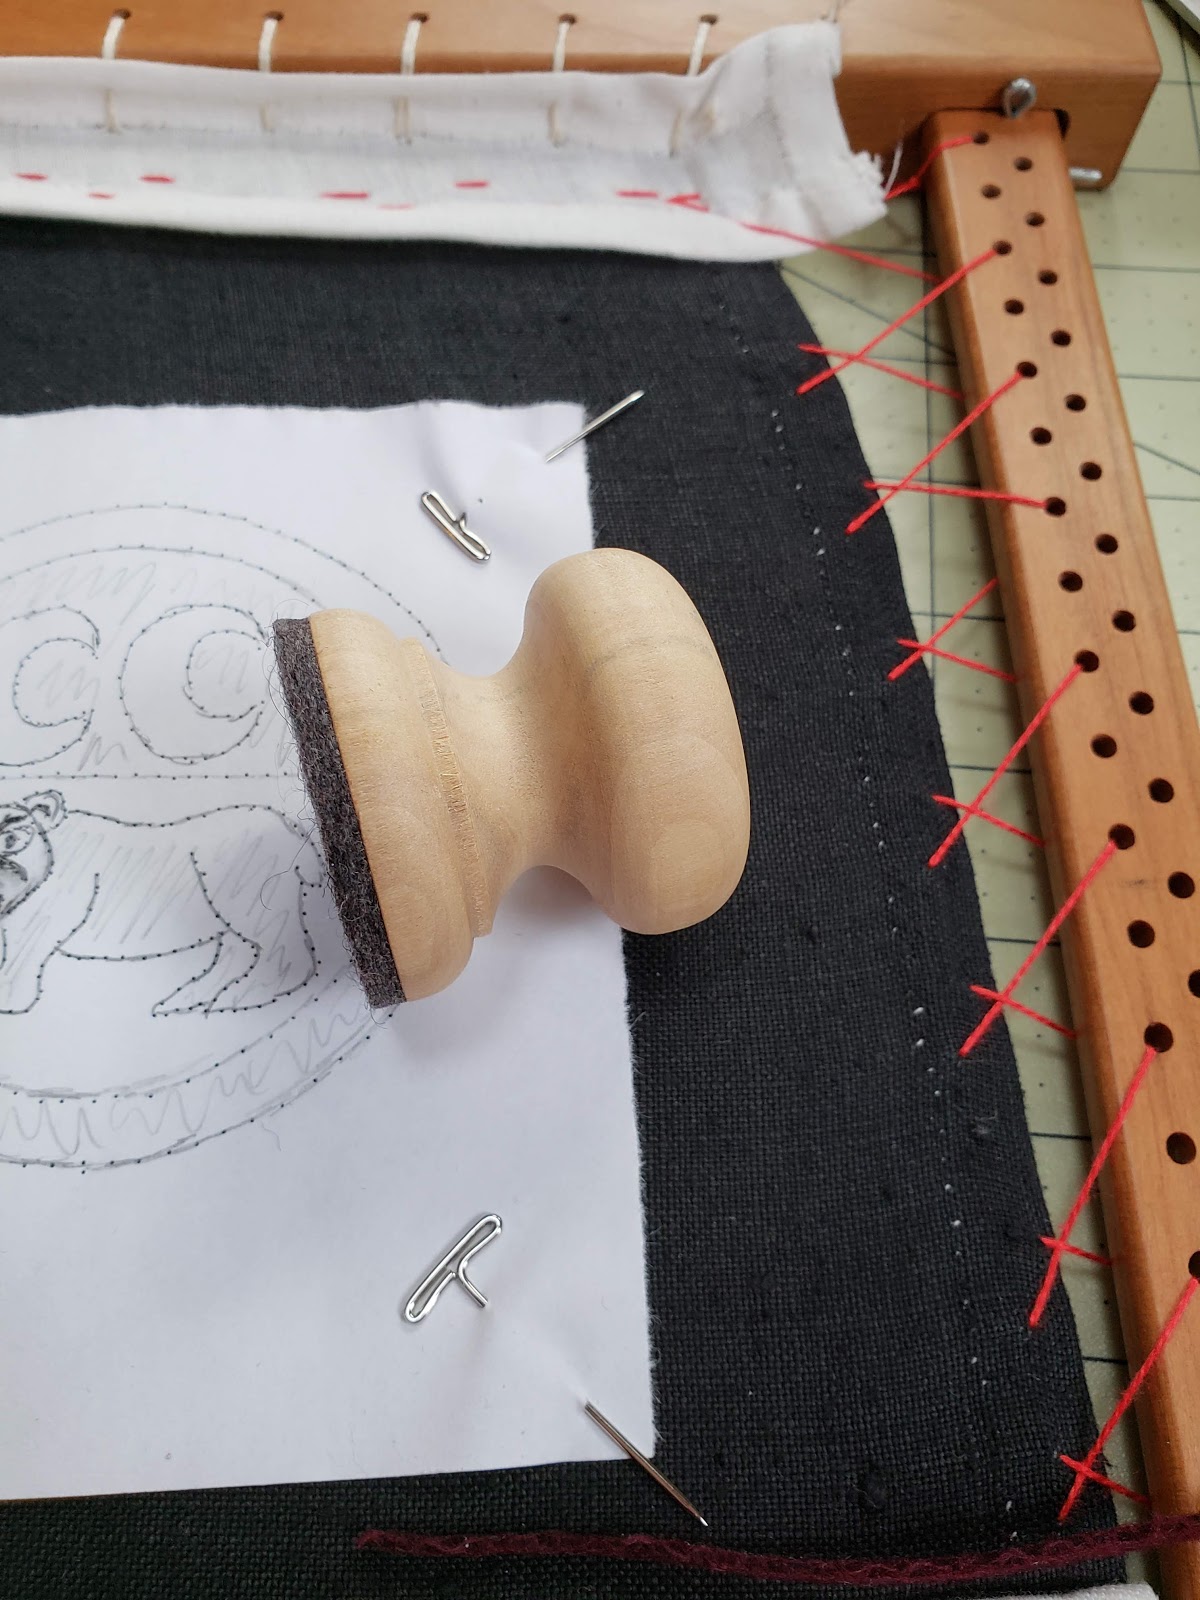
I’m embroidering this badge on black linen. After stretching the linen in my slate frame, I got ready to transfer the design. The badge will eventually be appliqued onto another item, so I didn’t need to be too careful about centering the badge in the frame. I roughly centered it, and pinned it into place.
One of my Xmas gifts this year was a pricking and pouncing set, used to transfer designs from paper to fabric. The pricker is basically a pin vise used to hold a small crewel needle. You use this to poke holes in the design through the paper. I poked holes every few millimeters. I had done this before with a plain needle, but found the vice made it much more comfortable to hold the needle while this task. Pricking holes in a large or complex design can be a bit tedious, so anything that makes it more comfortable is welcome!

Once all the lines had been pricked, I got out my new pouncer. This is basically a wooden knob with a bit of felt glued to one end. It would be really easy to make these! But, my set came with one pre-made.
The set came with dark grey pounce, made from crushed charcoal and cuttlefish bone. This pounce is a pretty dark grey, so I didn’t think it would be terribly visible against the black linen background. But, I read a great hint that you can use flour in a pinch as white pounce. I tapped the pouncer into a small amount of flour, and then rubbed the pouncer around the design, over all of the holes.

Once I had gone over the entire design, I unpinned one end and peeled the paper up to confirm that the entire design had been transferred. The flour worked pretty well! I found I’d pricked a few too many holes in the face, so a bit too much flour came through and the design there was a bit less clear than I would have liked. But, it was good enough that I could make out the entire design. Good learning for next time!

Knowing that the fine powder wouldn’t last long, I traced over the lines with a white chalk pencil, then did a quick backstitch over the lines with white thread to ensure the design would remain visible while I worked the embroidery.

Finally I stitched some guidelines across the piece to help me keep my silver work straight as I work the item, and it was ready to start the silverwork.
Next time: Argent nue?