In my last post, I talked about how I was inspired to up my game and come up with a better and more attractive way to store my embroidery equipment and supplies. Now that I had some neat new bobbins to store my floss, I needed a way to organize them. Previously I had been using a plastic zipper bag I got at the fabric store, which was pretty ugly to be honest, so I typically kept it hidden in my satchel, bringing it out briefly when I needed something, and then quickly hiding it away again.
I was inspired to come up with a storage system that would keep everything organized, and be pleasing to the eye. I realized I spend a lot of time at events sitting at long tables, where I’d have space to lay out my materials. For other events where table space is limited, I could continue to pull my kit out as needed, but at least it should be attractive and plausibly period.
Finally I decided to make a tool roll, with a leather outer surface to protect the contents, and a felt liner with pockets to hold everything. I got leather materials at Tandy, and purchased a half-yard of honey-colored wool felt (to match my persona’s coat of arms) for the inner layer.
 |
| The original draft plan for my tool roll, with rough measurements and layout. The pocket layout ended up not working well when I measured some of the items, so I changed the arrangement a bit when I converted this into an actual pattern. |
|
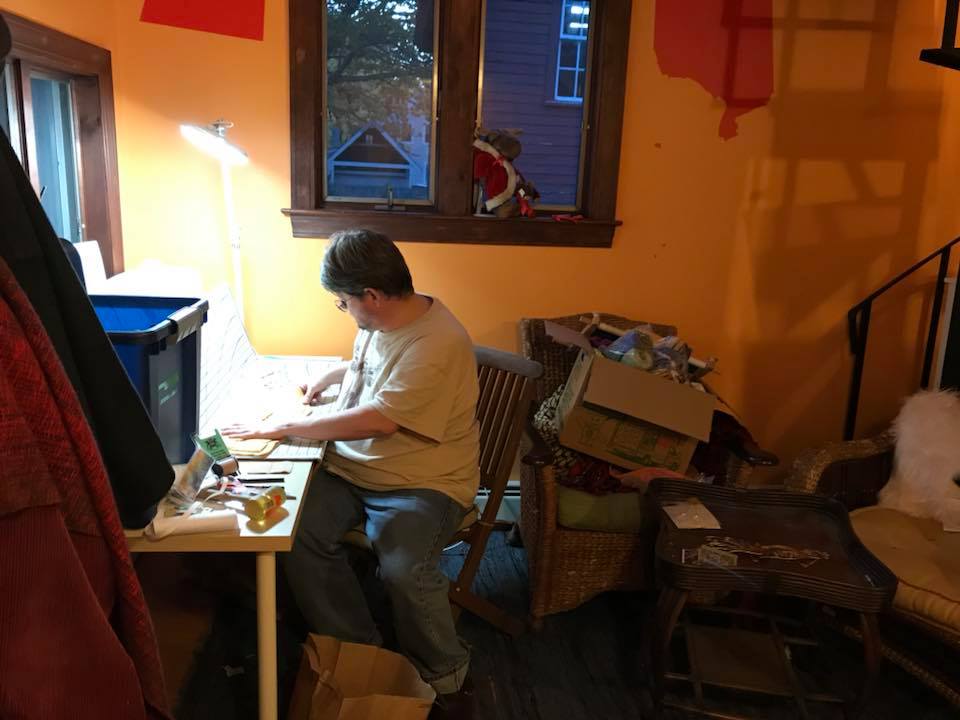
| Ivan hard at work. After creating a final plan, I cut out two pieces of leather — one for the back of the roll, and a thin strip to go over the felt and help hold it down when I stitched everything together. The leather was dyed green, and then I punched holes for the stitching. The felt was cut out and the pockets were sewn on by hand. I then laid out the felt between the two layers of leather, lined everything up, and started sewing. |
|
| The kit, sewn together. You can see the pockets here on the felt liner, and the stitching holding the roll together. There’s a large piece of leather the same size as the felt on the bottom, and a thin strip above to hold the felt down to the back. I also constructed a little needle book with a leather cover and felt pages, and a sheath for my snips. |
|
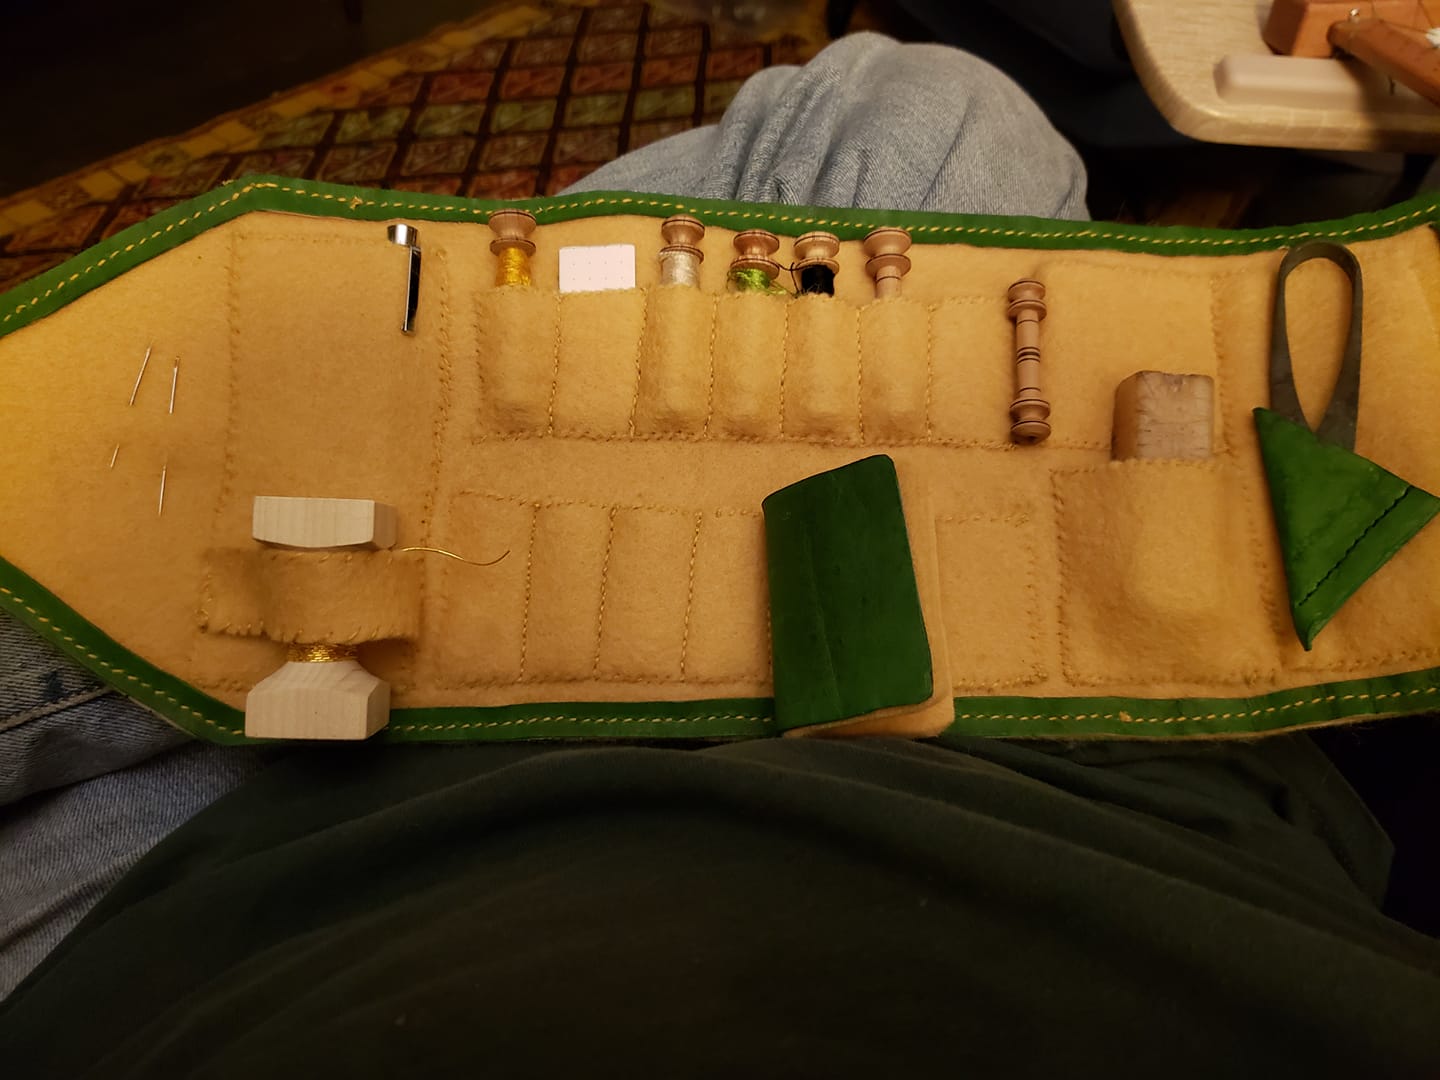
| The finalized roll with my supplies: needlebook, wax block, wrought-iron snips, floss bobbins, a pen, an awl, and a koma storing my Japan gold. |
|
| The rolled up final product. I was happy with the shade of green that it dyed to. It rolls up nicely to keep everything safely stored, and spreads out to display all its contents. It’s stiff enough that I can roll it out in my lap temporarily if I’m not sitting at a table, or I can leave it rolled out while working at a horizontal surface. I applied a beeswax-based waterproofing to the leather to help protect the contents. |
In the end I was very happy with the result. I probably should have decorated the outside somehow, but I don’t currently have the right leatherworking tools to stamp a pattern on it. So, maybe something to consider adding in the future. This was a pretty easy project that took me about two weeks (on and off) to complete, but one I hope to get a lot of use out of.